GIMP Map Generation I
Robert Louis Stevenson started something great when he put a fictional map at the beginning of Treasure Island in 1881. It is amazing how evocative a map can be. Especially if one knows that terrain to only exist as that limitless potential between an author and reader both agreeing to, for a spell, believe in the fantastical. Put your finger down anywhere. Near a forest? A hamlet? Deepest darkest ocean? The imagination is hooked like a fish and pulled without a chance to resist. Curiosity pulls you in with a thousand and one questions. Who lives there? What do they eat? Why do they eat so much snail?
The finger moves again and again. That mountain that looks like a shark's fin, does anybody live there? Up high, or
down low?
And how do they feel about the Snail Munchers?
What's the time? That much?!
Creating your own maps is at least as fun as perusing other's. For years I have drawn maps. By hand, by using specialized tools and lately using GIMP (GNU Image Manipulation Program; think PhotoShop but free and open-source). I've found a method I wanted to share where we take a generative/procedural approach - letting randomness be our starting point. Then, as the careful gods we become as mapmakers, nudge the continents, lakes and hills to our liking. Using this method we can create any map we want, but still find these serendipitous moments of wonder we can have pouring over someone else's map.

1. Parchment
First, and probably most importantly you will open your favorite parchment image. This will be the basis and ultimately the soul of your map. With it we can communicate its Raison d'être. Is this a Preussian general's war map? A pirate's treasure map? Or maybe a wizard's way to find back home?
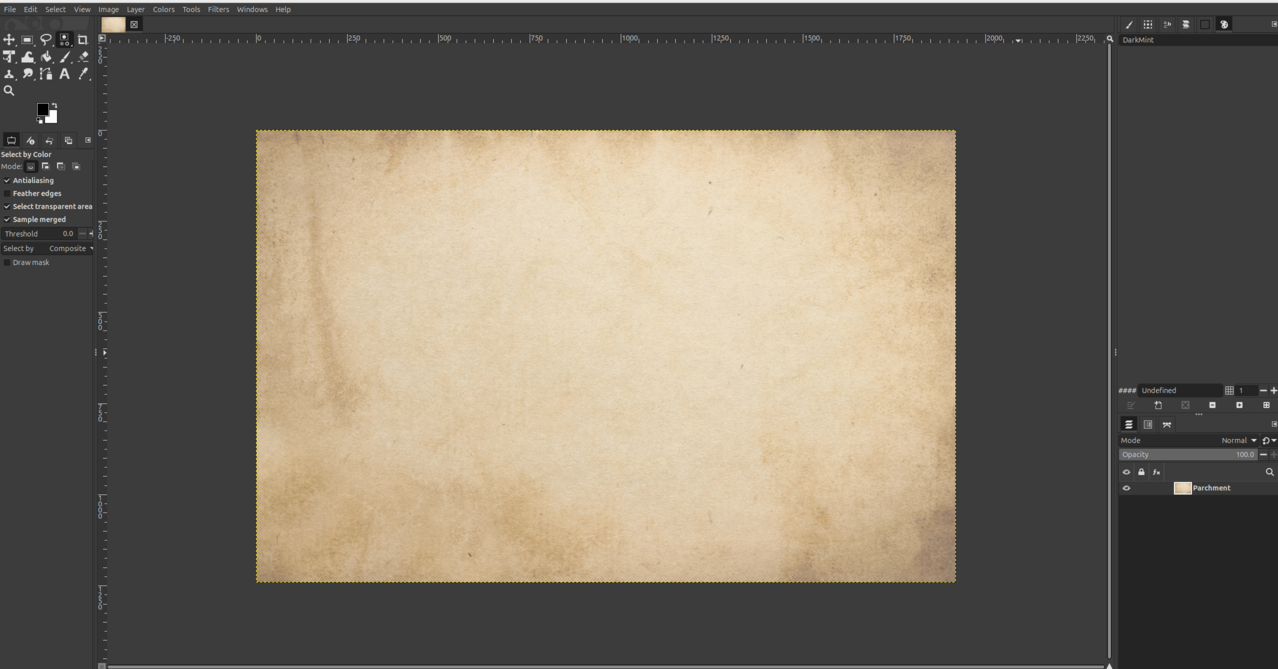 Here is mine
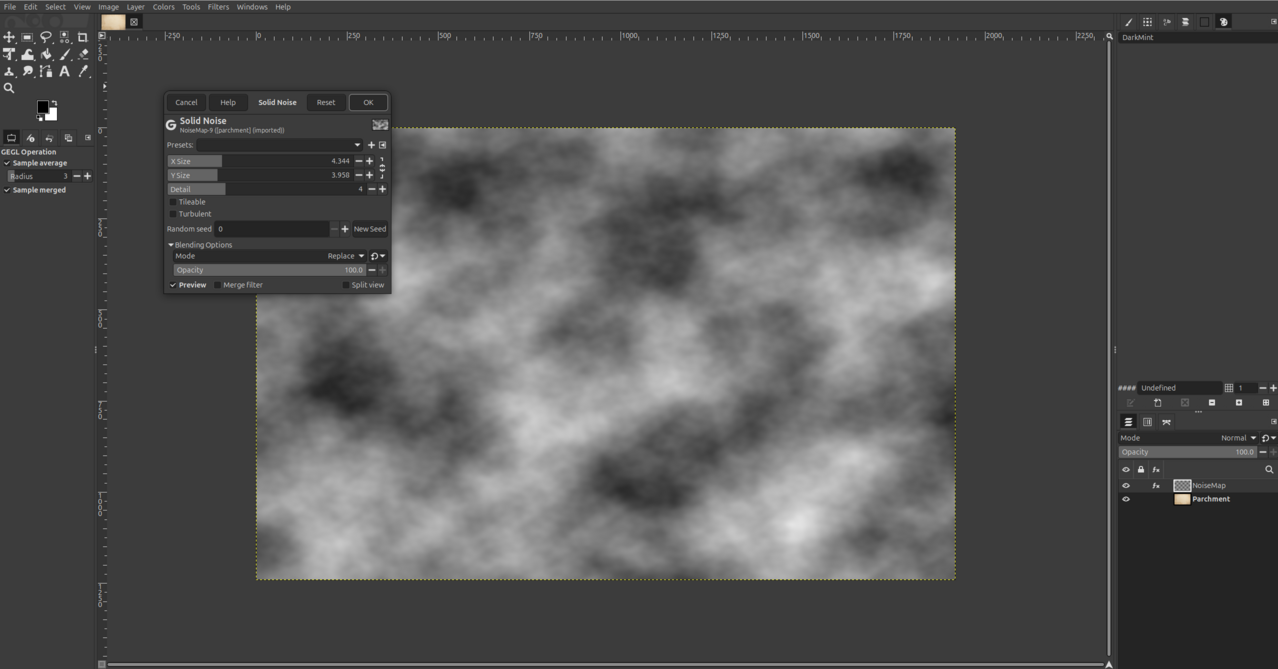
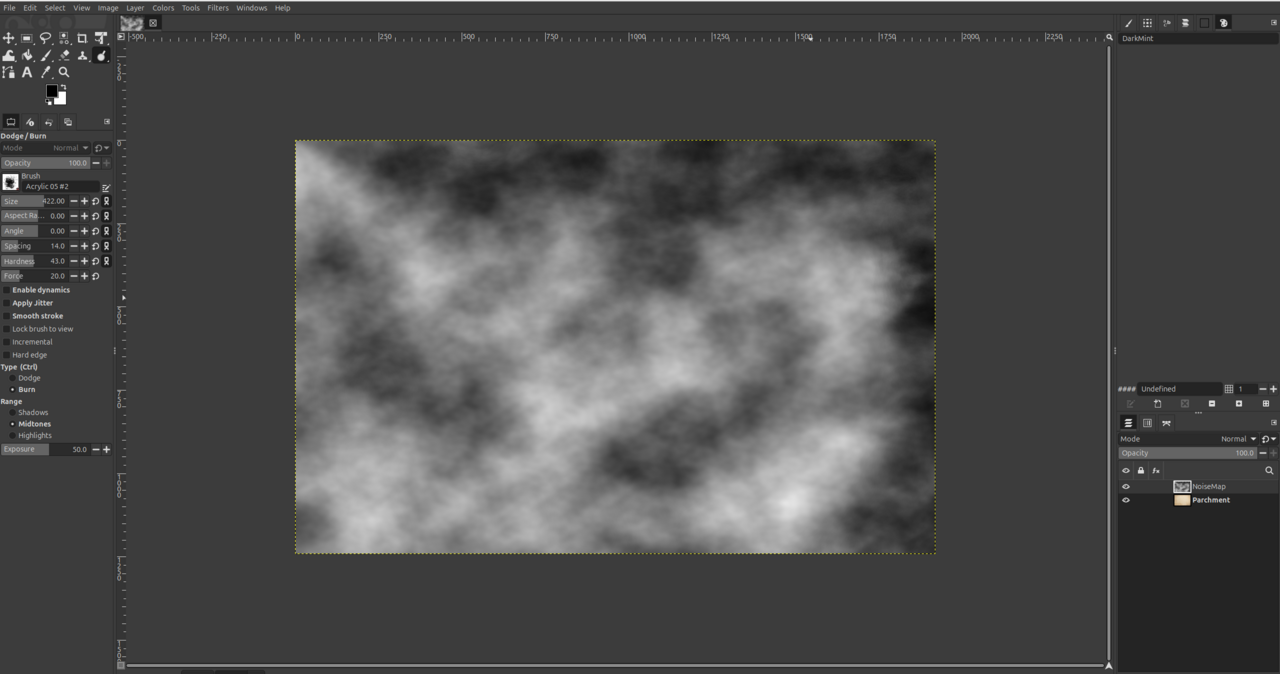
2. Noise Map
The next step is the most dramatic. Now we will raise mountains, carve oceans and sculpt continents! Create a new layer (Ctrl + Shift + N or right click layers > New layer...) and give it an apt name. I call mine NoiseMap.
On this new layer we will create the topology of our map. We will use black and white pixel noise to do this. Lighter pixels will represent high ground, with the whitest pixels as mountains. Darker pixels will become oceans, seas and lakes. With this layer selected open the Solid Noise menu (Filters > Render > Noise > Solid Noise...) and play around (like a god) until you feel that you have achieved your vision.
The X/Y Scale is great for adding more variation to your map. For instance, higher values are great for world maps adding more hills and valleys.
Softer, blurrier noise works well for maps over smaller areas, where the edges between water and land are not as jagged. To add more detail and harder edges to your map use the Detail slider (duh!). For my map I set this to 4.
3. Noisy Shore
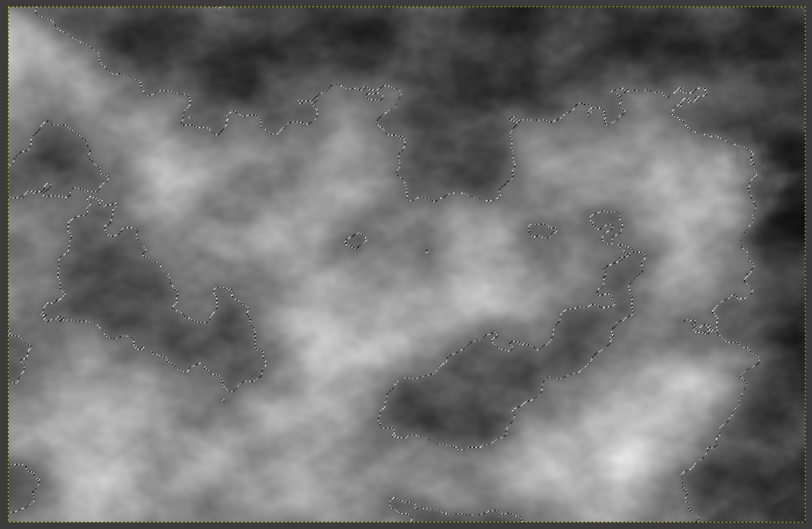
In order to get a definition of land and ocean we will create paths. Pick the Select by Color tool (Shift + O) and just start clicking around areas with middle-gray values. You will see that all colors within a range of the chosen color are selected. You can widen that range by increasing the threshold value. It is up to you if you want to select water or land first.
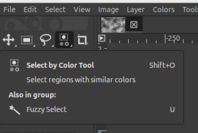 Select by Color tool button.
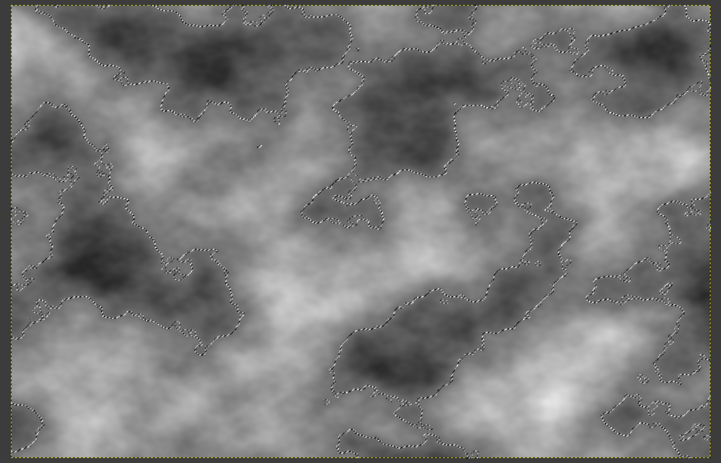 See how we immediately find our continents/islands/lakes.
If the random noise was a bit too random do not be afraid to change the values to your liking. Use whatever tool you feel comfortable with to lighten/darken areas of the map. Here I've darkened the noise along the top and right edge effectively making this map describe maybe the north-eastern peninsula of a waster continent. I used the Burn/Dodge tool (Shift + D) in the 'Burn' mode to accomplish this.
When you are satisfied with your selection we will create a path from it. Right click > Select > To path and check your paths tab. That can be found next to the layers tab. Here I've named my new path Ocean.
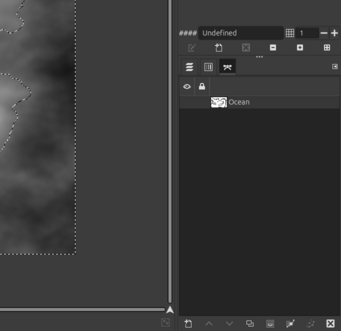
Now you can bring up that selection again by Right-clicking that path > Paths to selection. It is useful to also have an easy way to select land (or ocean if you started by selecting land). To accomplish this you can bring up your selection, Right click > Select > Invert and create a new path as before.
Now, if you haven't been having fun yet, now is the time. Using these selections there are myriad ways to design your map.
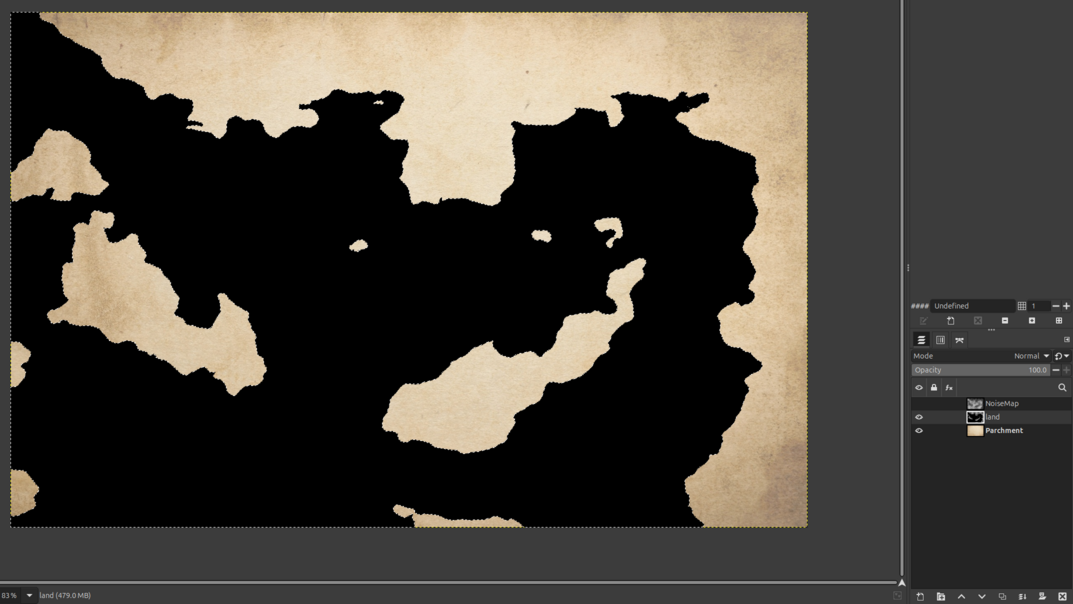 Here I've colored the ocean selection black
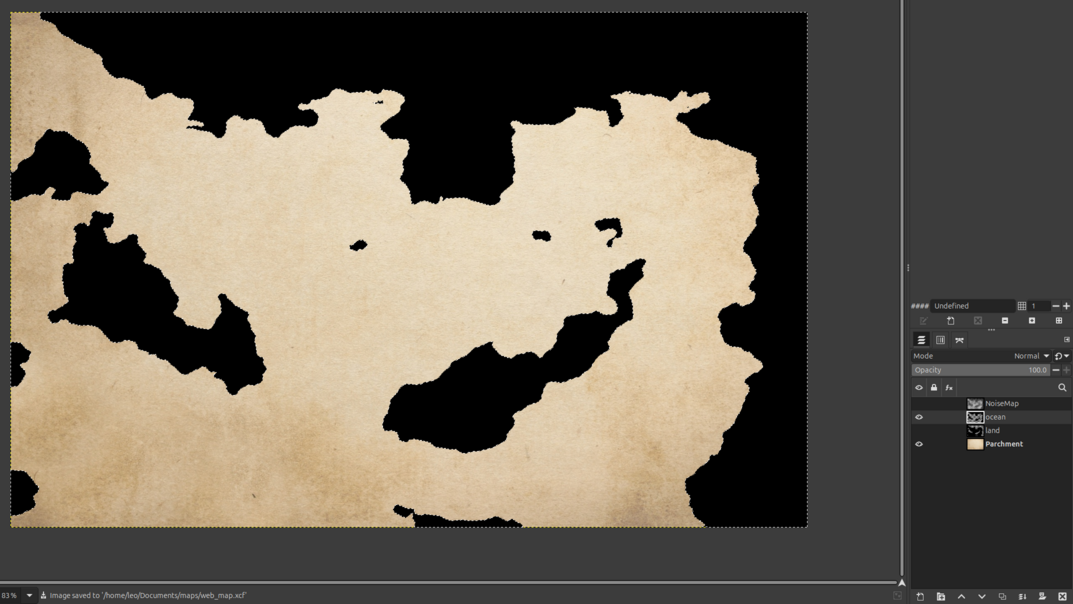 And also the land selection, on separate layers.
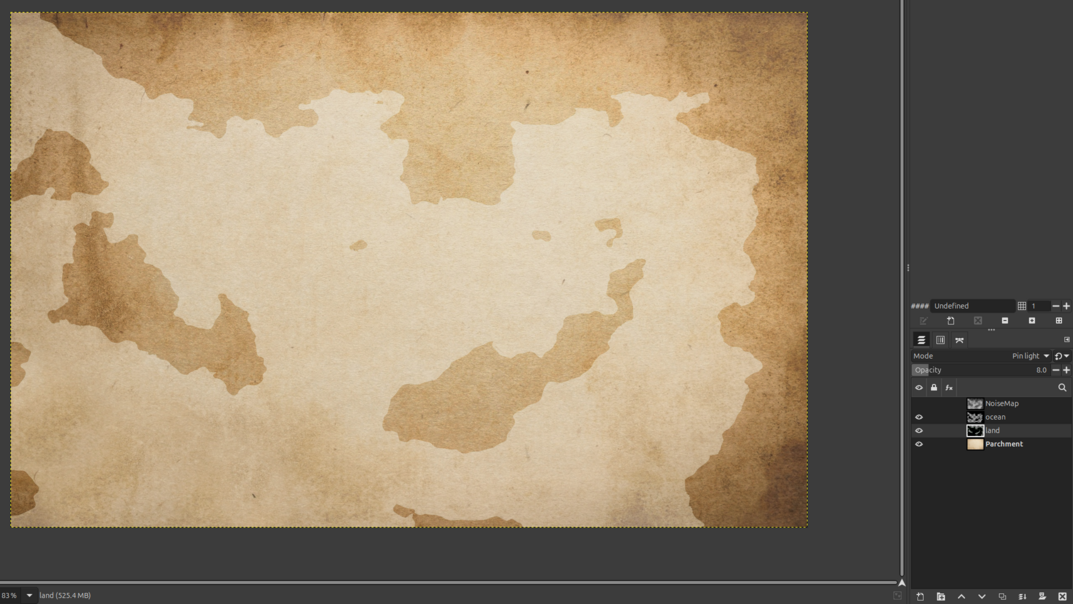
By setting the Blend Mode of the ocean layer to Soft light and Pin light for the land layer we get this effect.
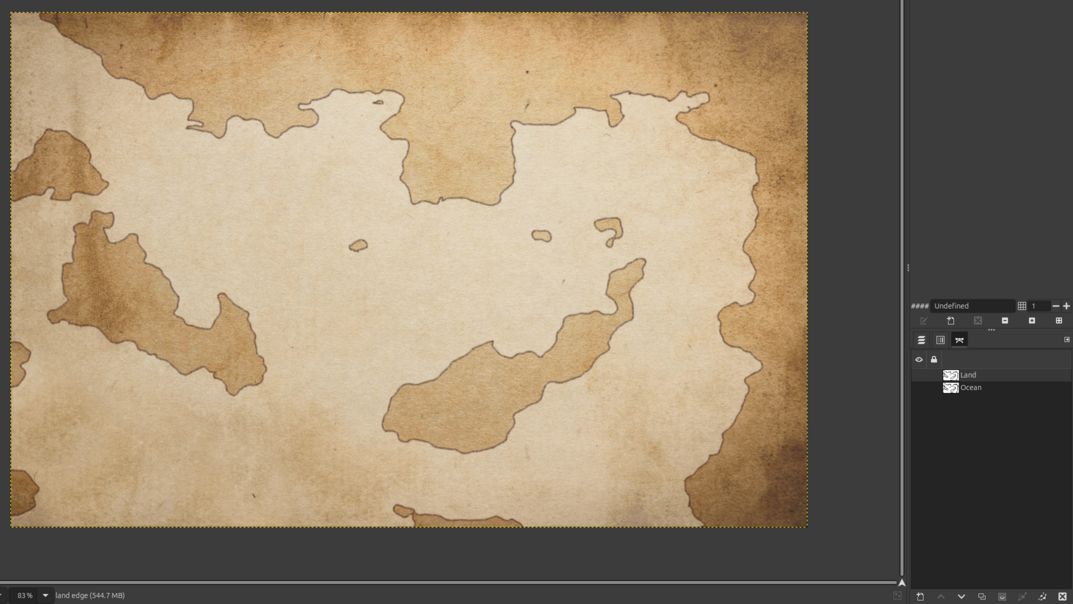
Adding edges to your landmasses are a breeze using your paths. Set up your paintbrush tool to be just right for drawing these edges. Right-click your land paths, select Stroke paths.... Select the Paint tool option (or Line if you prefer that) and click Stroke. Voila! At least 20 minutes of line work done in the blink of an eye.